

To begin with building anything you need to first set up the environment and then only you will be able to build anything for anyone. We will go through various steps in this whole setup process but first you need to know what things are required.
All of this is in the next section.
Note : This setup is strictly designed and structured for mac users.
Ingredients
- Flutter Software
- Xcode
- Android Studio
- Vs Code
- Extensions
- Flutter
- Dart
- Themes (Not Necessary)
- Error Lens
- Bloc
- Extensions
Flutter Software
We will walk through each of the ingredients one by one providing you with the easiest way to setup the whole build.
Starting with flutter software.
- Headover to flutter.dev
- Go to the get started section and choose the operating system. In our case macOS(Intel or Silicon)

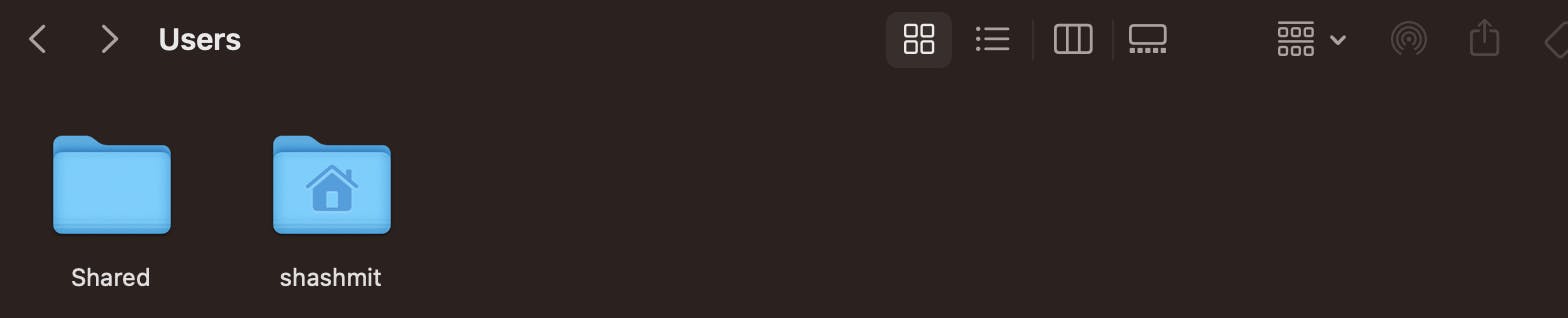
- After the Download, Extract it anywhere in your system. I recommend you to extract it in your user/Personal(In my case it is my
shashmitdirectory, inside a folder( I have given the folder name asdev). Also you can directly keep the flutter extracted folder in your personal directory as well.

- Now, you have to add flutter in your path directory.
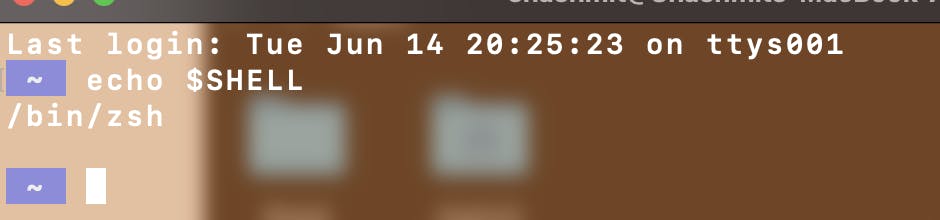
- First Check what shell your terminal is running. By typing
echo $SHELL, In my case it is Zsh.
- First Check what shell your terminal is running. By typing
After Checking for the shell type touch .zshrc in the terminal.
Go in your Personal Directory Folder and press cmd + Shift + . Button. This will enable the hidden files in the directory.
Locate the .zshrc file
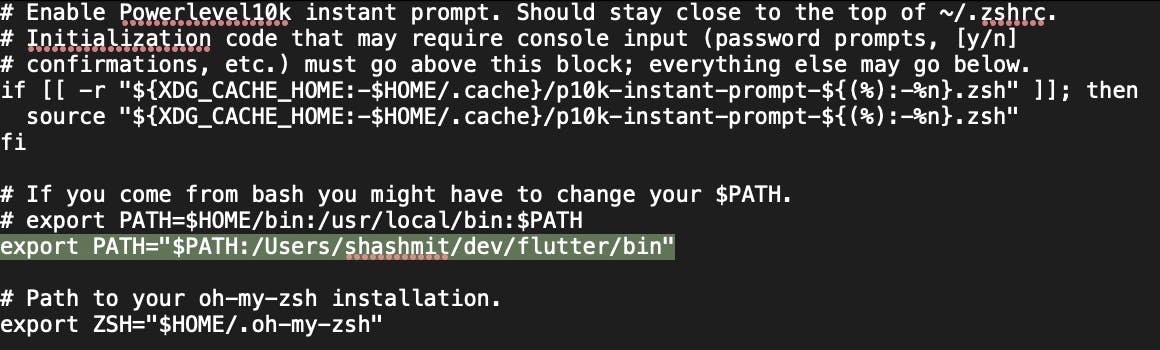
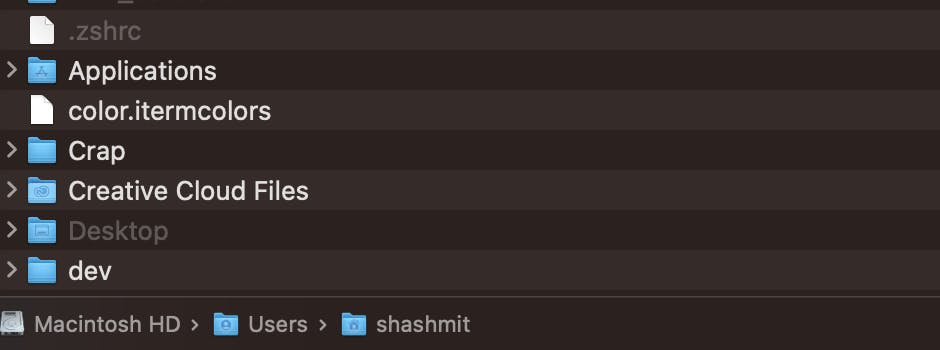 Open it and add
 export PATH="$PATH:/Users/shashmit/dev/flutter/bin" . In this instead of my personal directory name and my folder where I have saved the flutter file change it to your own directory and folder name if any.
 Or just go to the flutter folder and open the bin folder in it. And click on get info
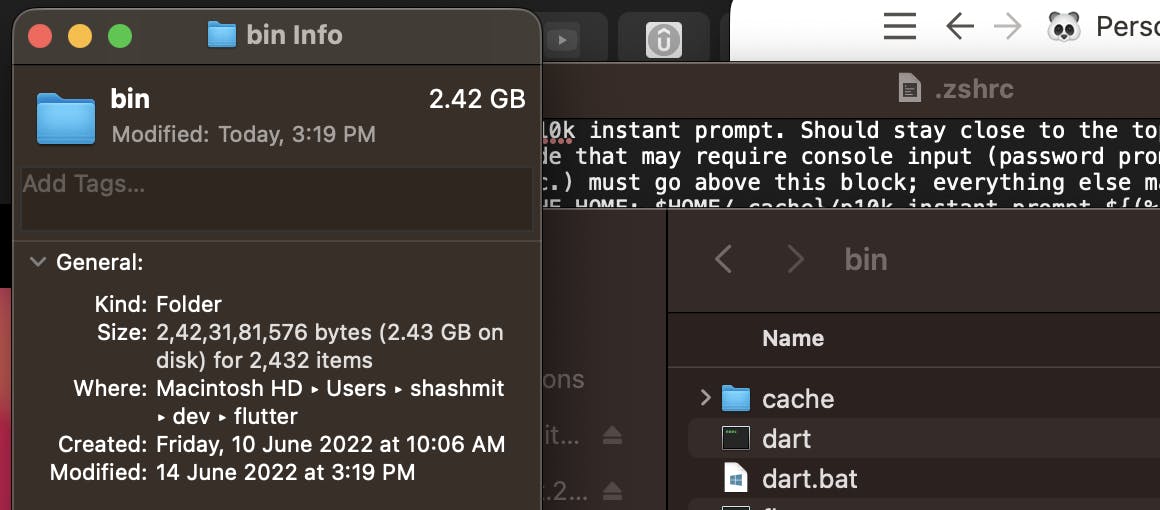
Here, Copy the where section and paste it export PATH="$PATH:[Your Destination]/bin" here.
After this one last step open the terminal and refresh the window. By typing source $HOME/.zshrc .
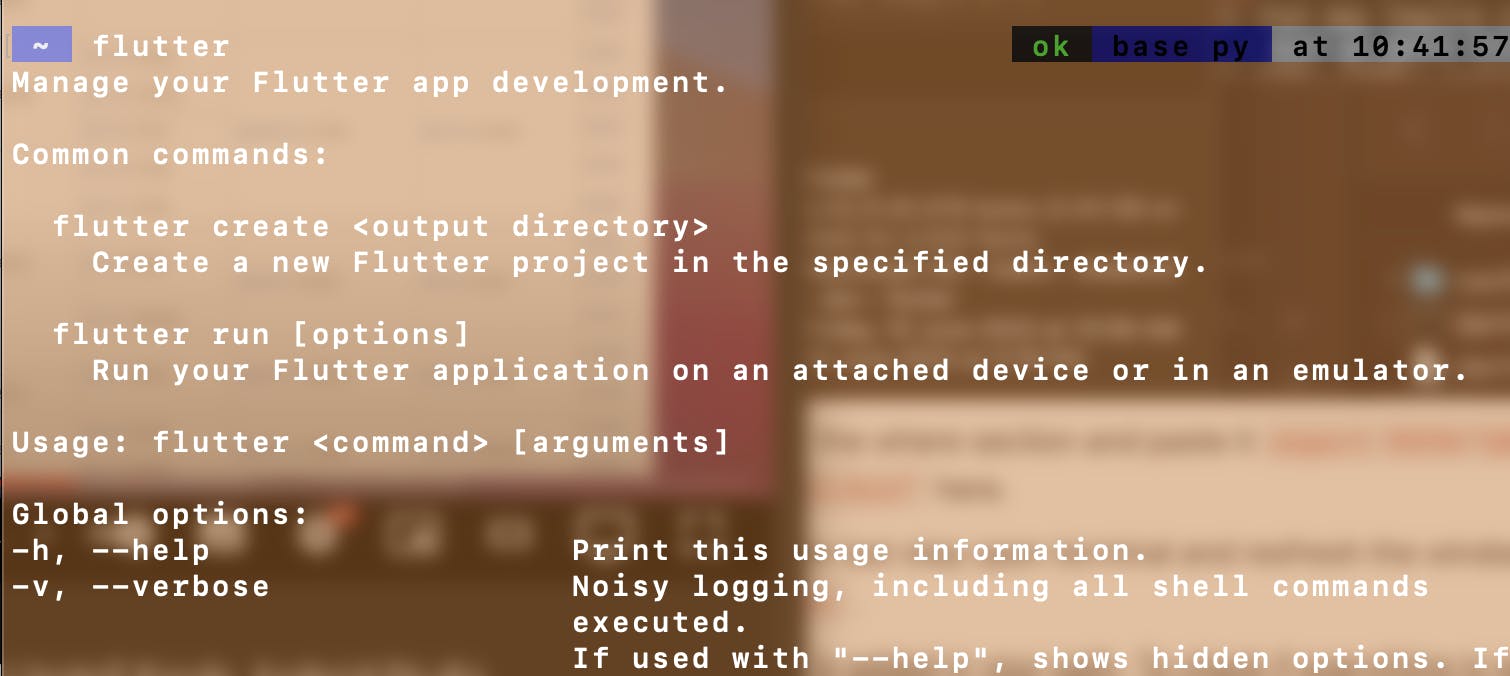
Now Flutter is added in your path. To check if everything is working, type Flutter in your terminal. If Everything is done right the command should run and will show all the commands and functions.
You can also go through this video If you are not able to understand or had any problem in setting up the path.
Xcode
Bravo you have installed flutter in your system, added it in your path. I know few things might have been a little tricky but with all the information and a little bit of tinkering you must have achieved the installation process.
Now, we come to installing the next important thing in this whole process which is Xcode apple code editor. For this you don’t need to go anywhere if you are running MacOS Big sur.
- Go to the app Store and search Xcode.
- Install it.
After this you need to install a few more things in your xcode.
You need to install some developer friendly tools by typing a few lines in the terminal after installing Xcode.
sudo xcode-select --switch /Applications/Xcode-beta.app
sudo xcode-select --install
And you are good to go. But you need one more thing in your Xcode which is required by the Flutter System and that is CocoaPods. CocoaPods manages library dependencies for your Xcode projects.
To install this you need to open terminal and type
sudo gem install cocoapods
Android studio

Hooray We have installed Xcode as well now we only have to finish two more steps and we are done.
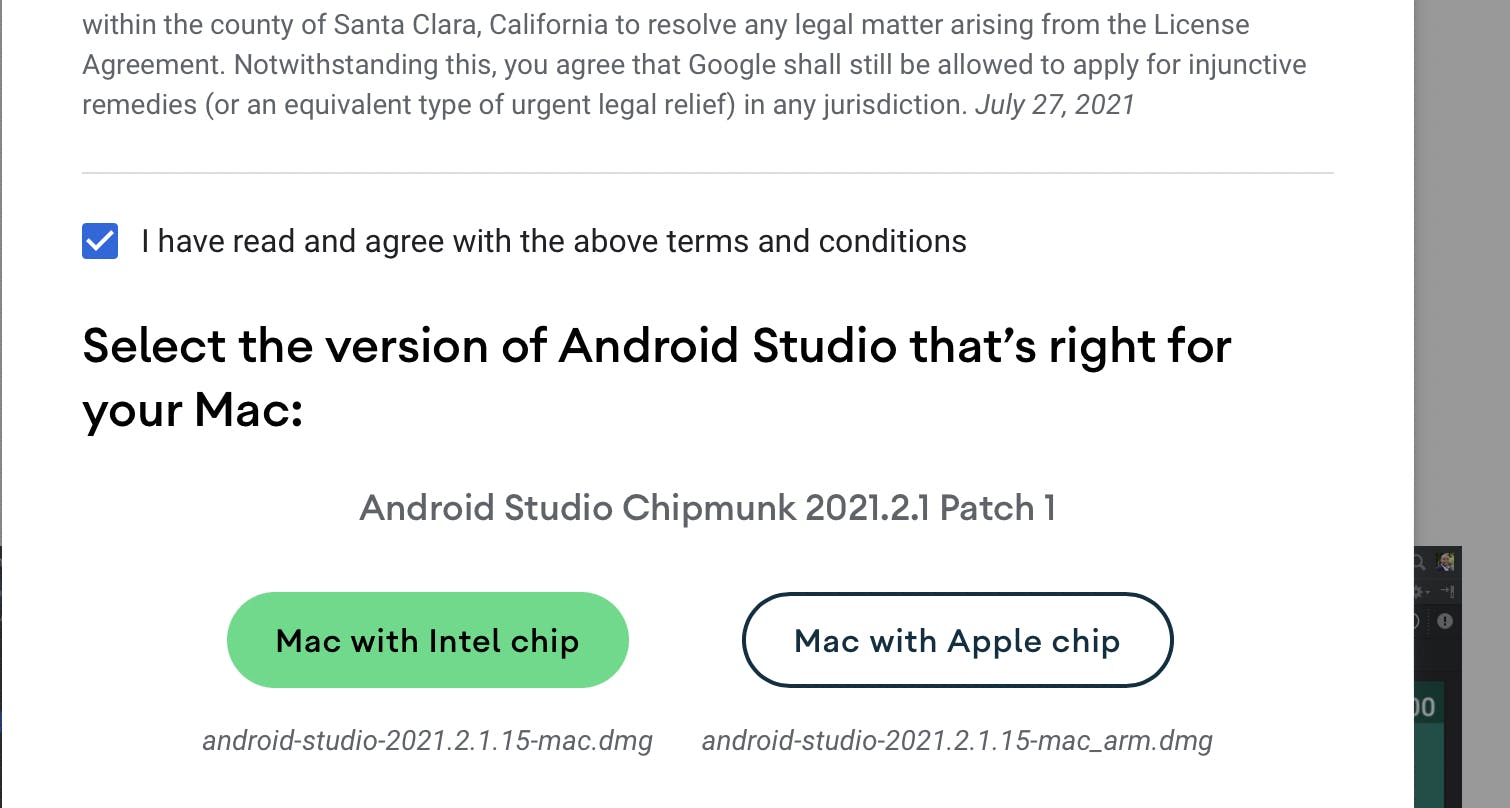
- Head over to Android studio and click on the Download button. Scroll Down and Accept the agreement and choose the type of chip in your device.
- Install it on your device, after that open the app.
- Go through all the licences and accept all the agreements and then you will see a screen similar to mine.
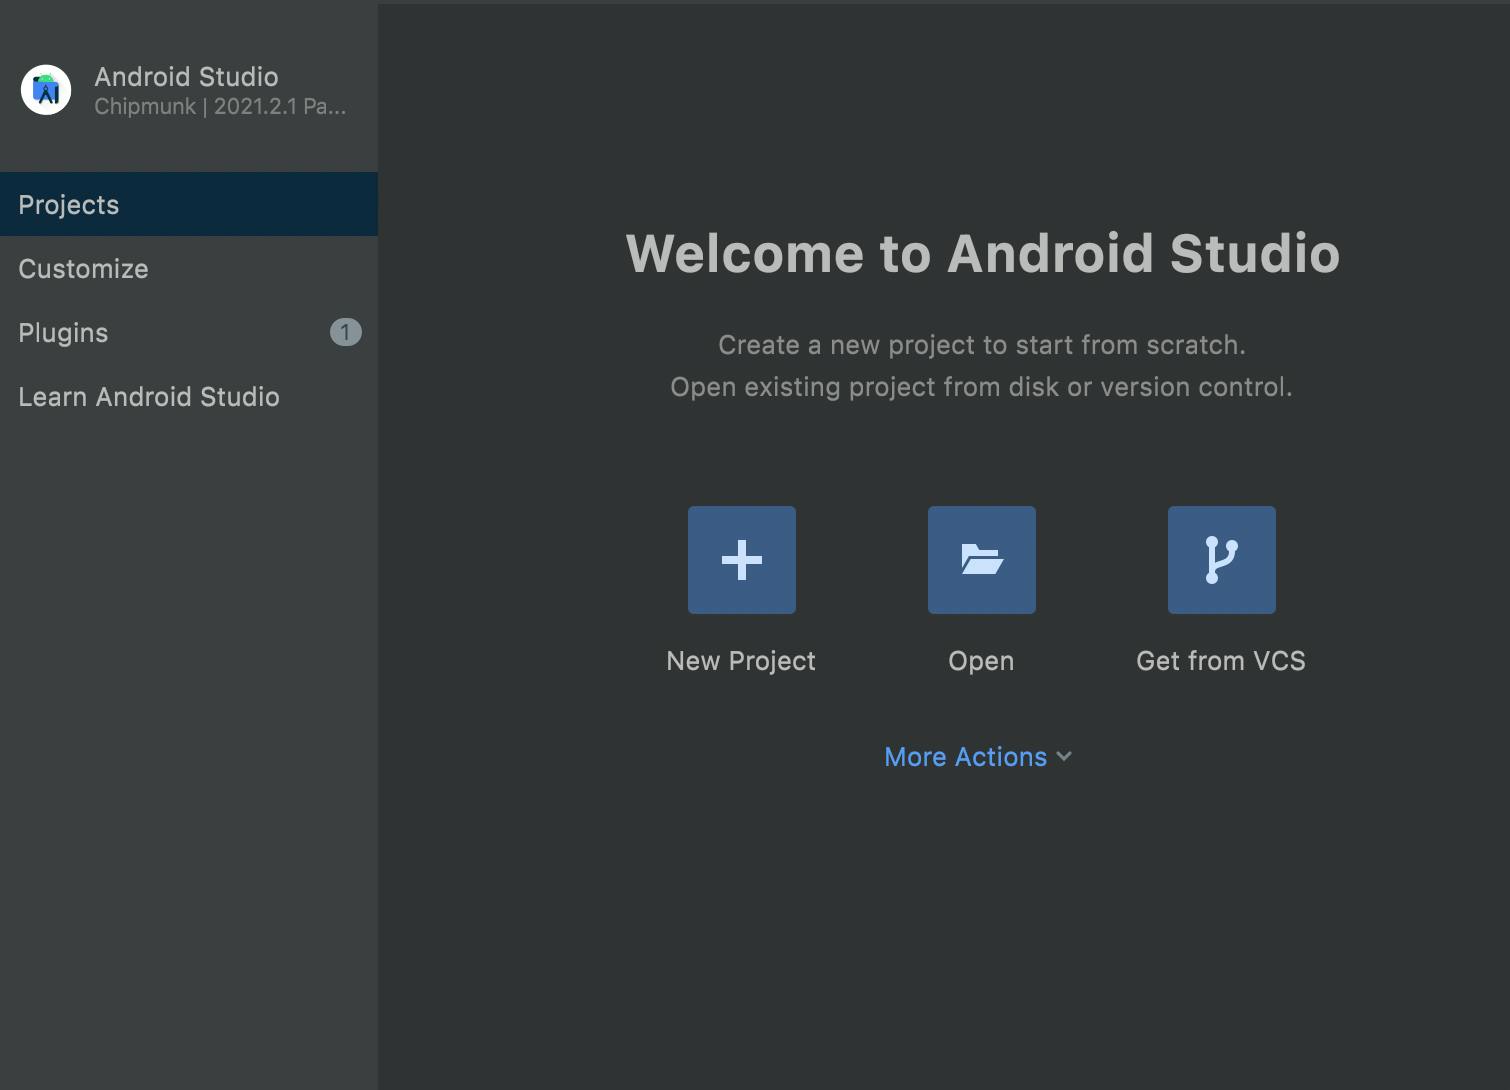 Here, Click on the
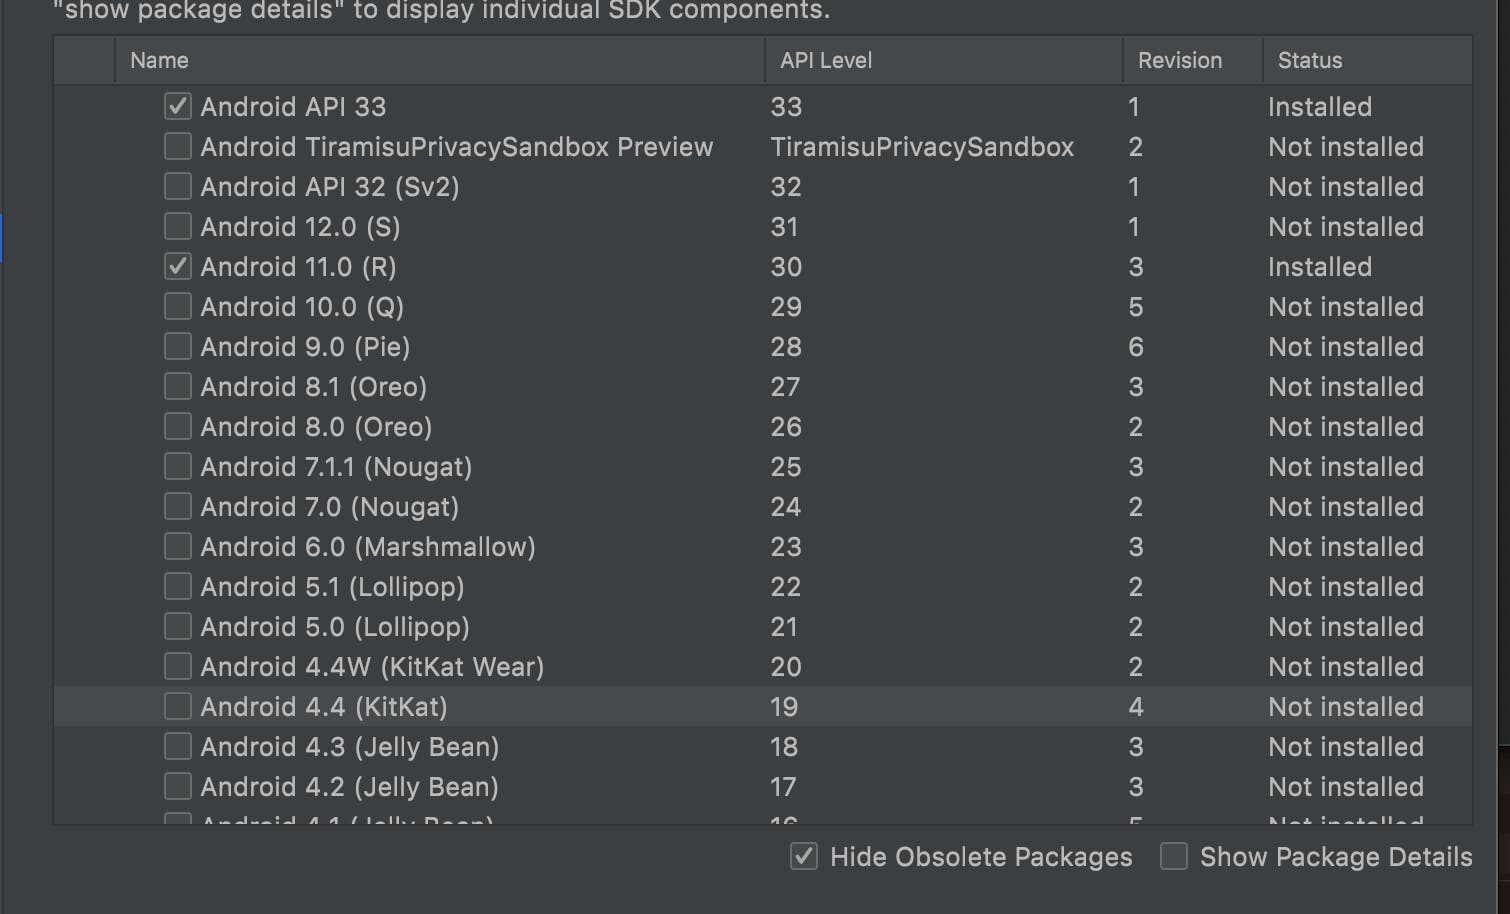
 More Actionsand thenSDK Manager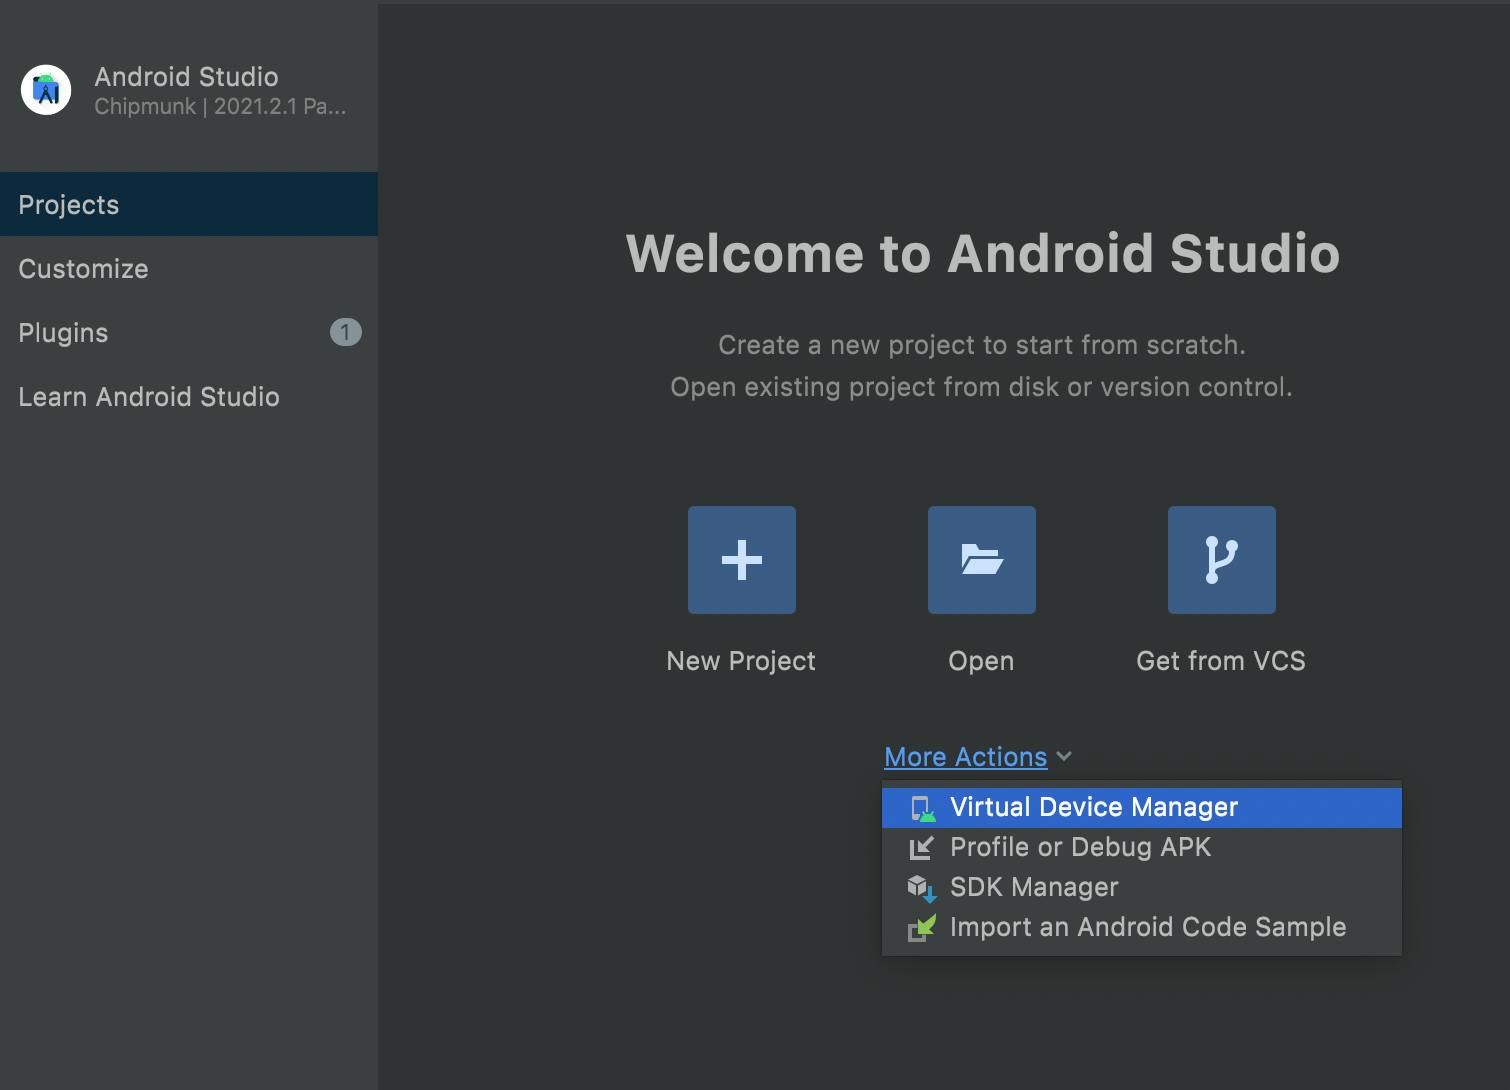 In this Select any given android Version.
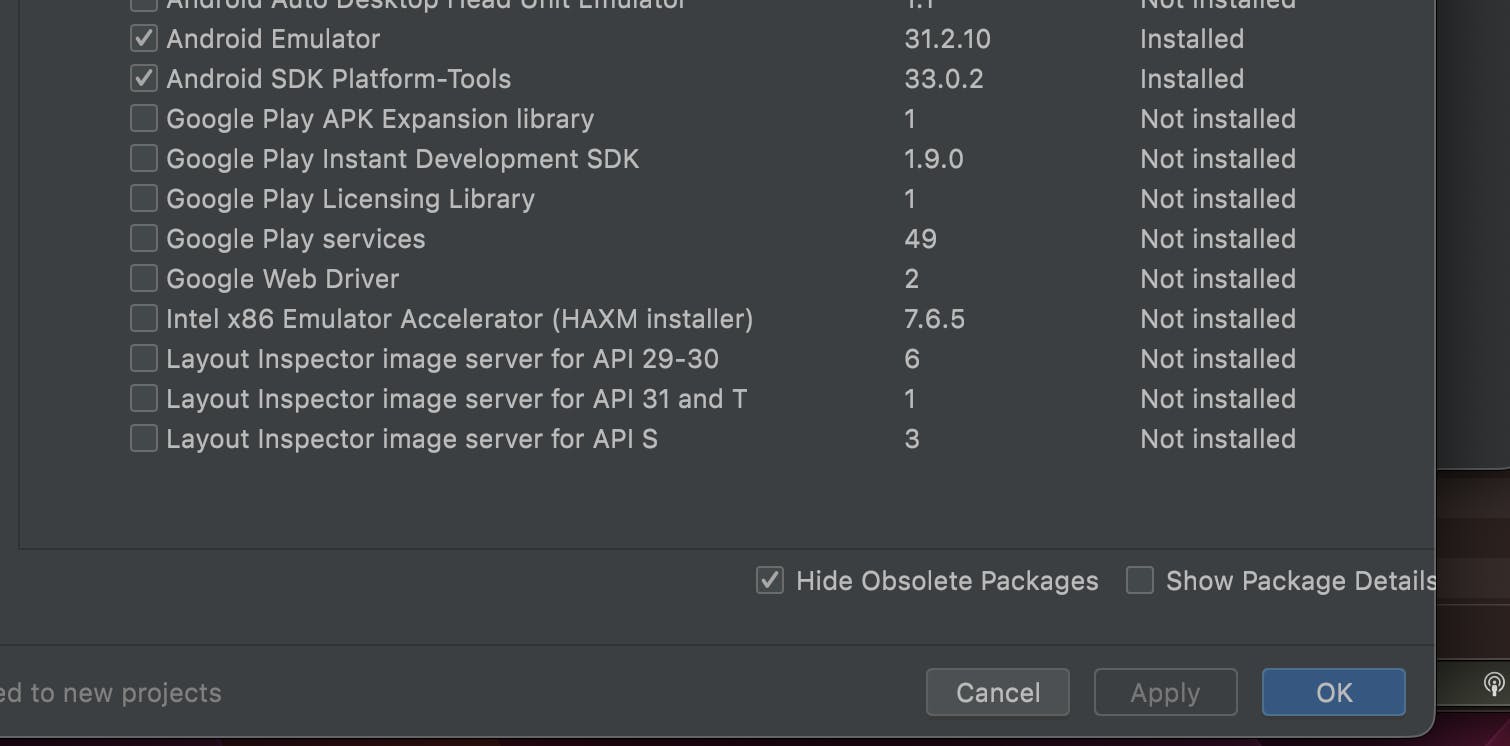
 After this locate to
 SDK Tools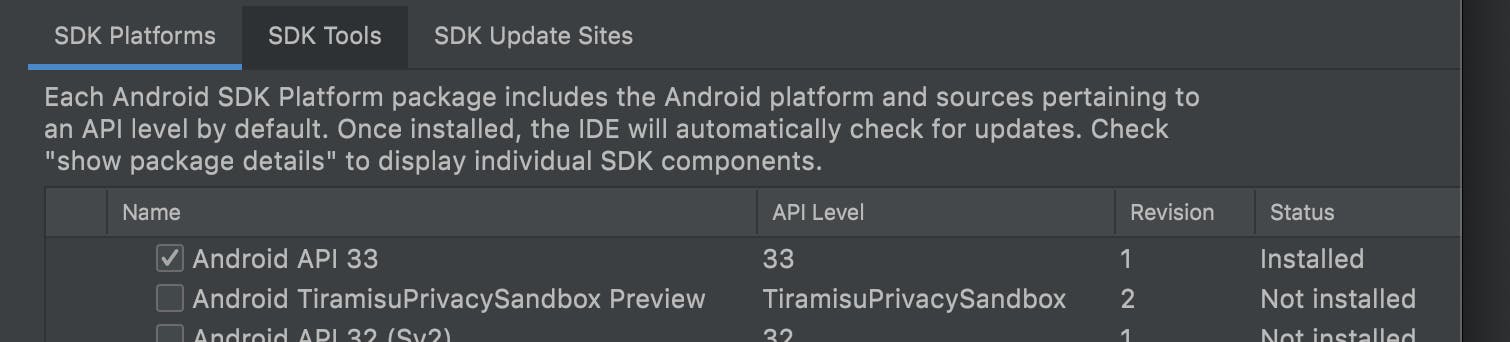 Here, Select
 Android SDK command-line-tools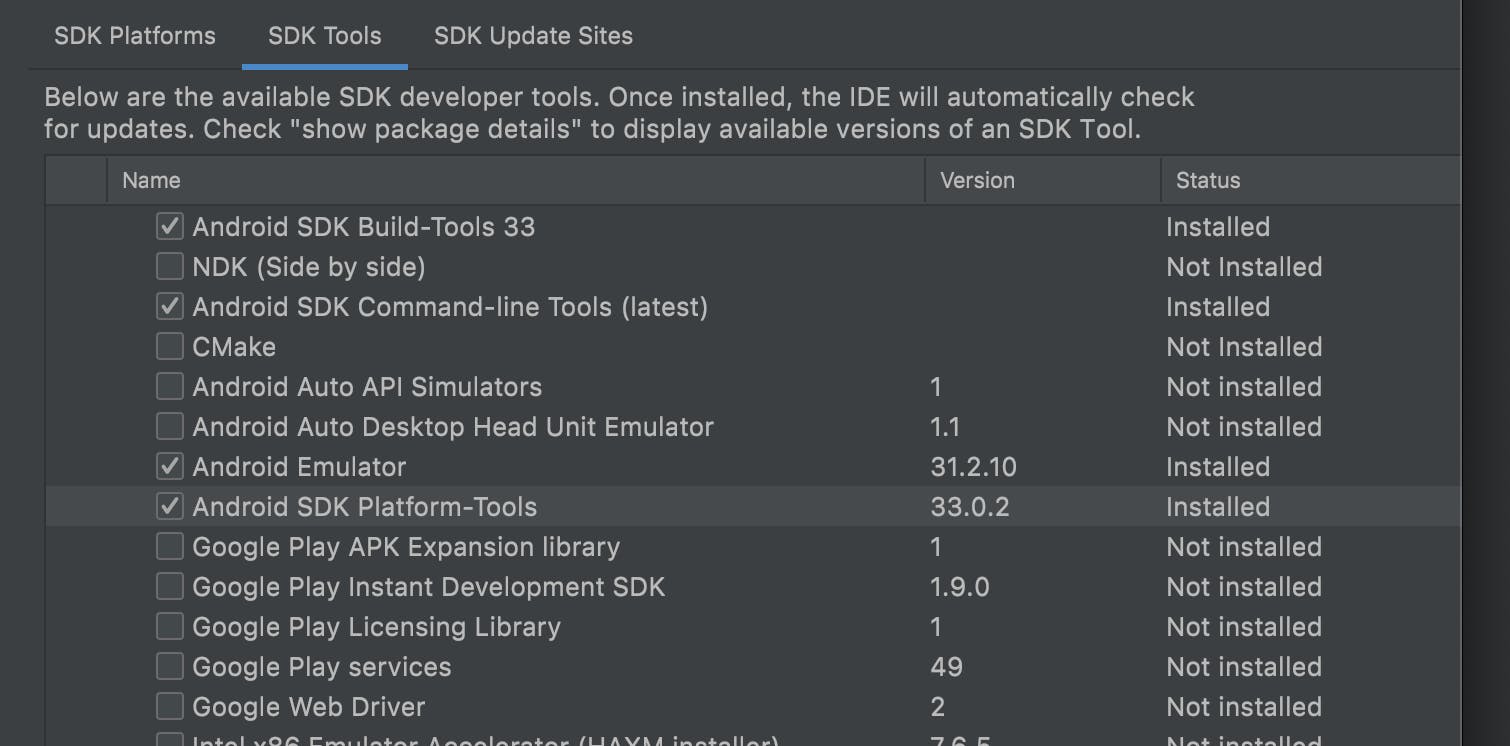
After that click on the Apply Button and you are done.
 Now Open Terminal And type
 Flutter Doctor . And if there arises any error in the Command line licence section copy the syntax from the error and paste it in the terminal.
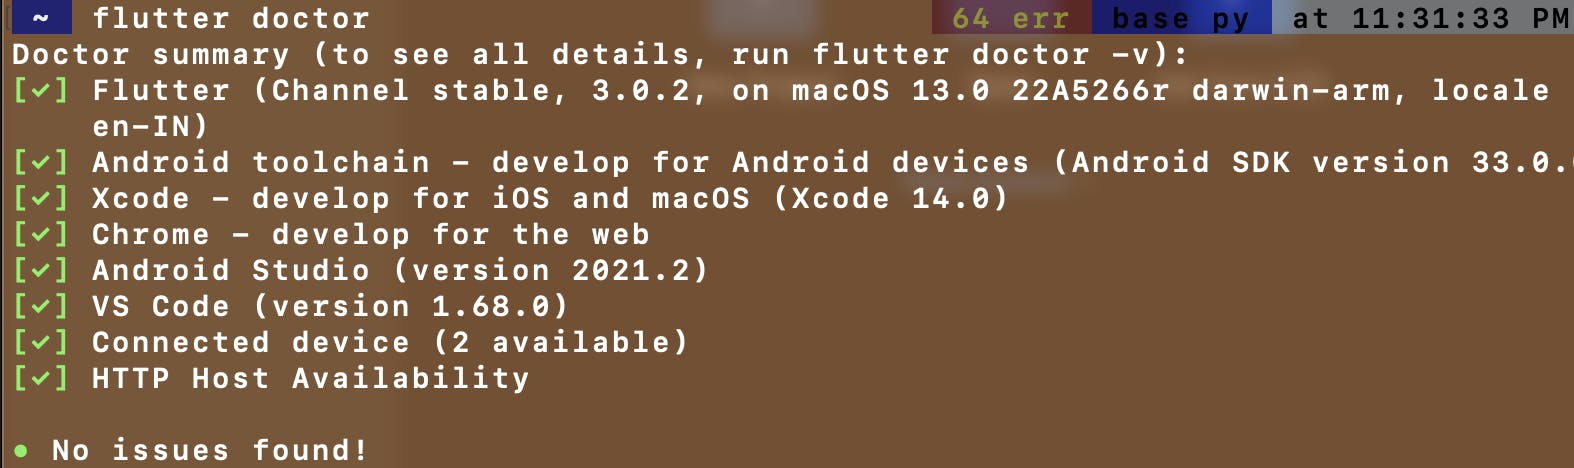
And you are good to go for the next step.
Vs Code
Finally, you are all set just one more and you are ready to code and build whatever you want to.
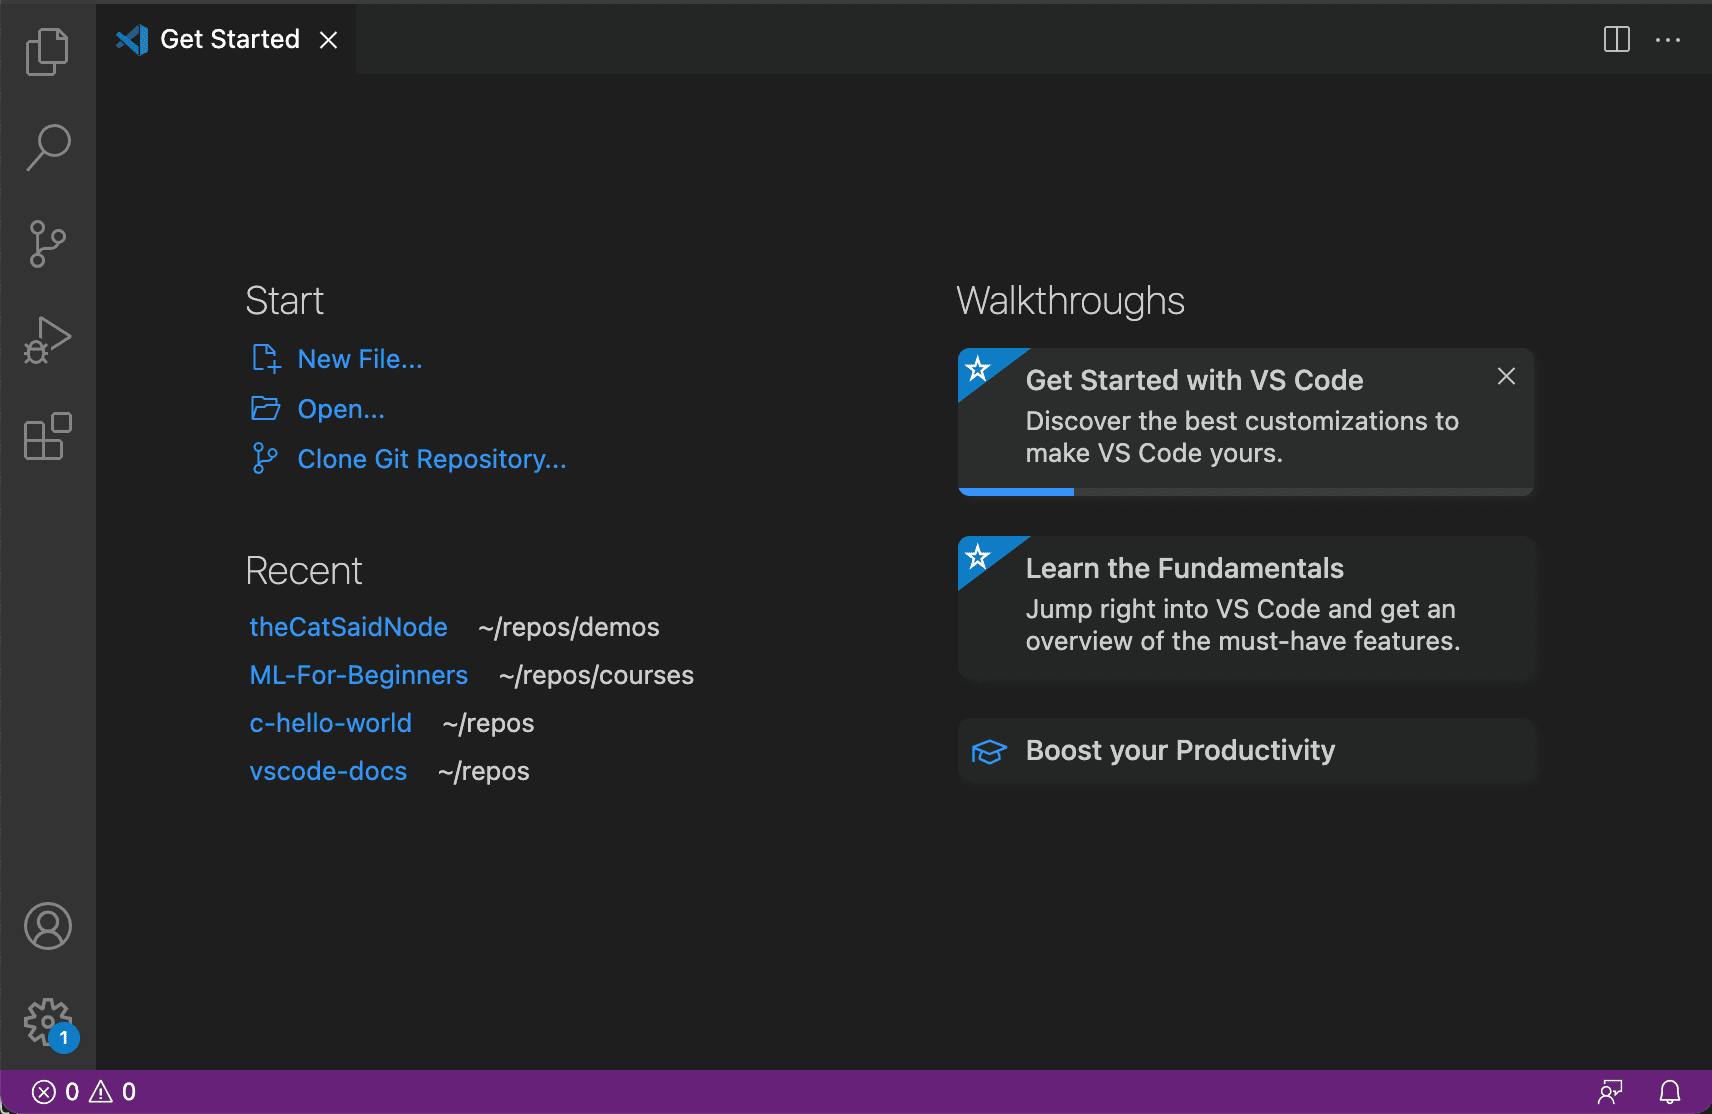
- Download VS code
Install it and go to Extensions

And You have Finally completed all the steps. Now you can create things you want to.
Thank you for following the whole process.
See you in the next blog related to something new, something that I’m also doing.
Follow me On Twitter